Kitchen Cabinet Corner Solutions

Kitchen Cabinet Corner Solutions

IMG_2327

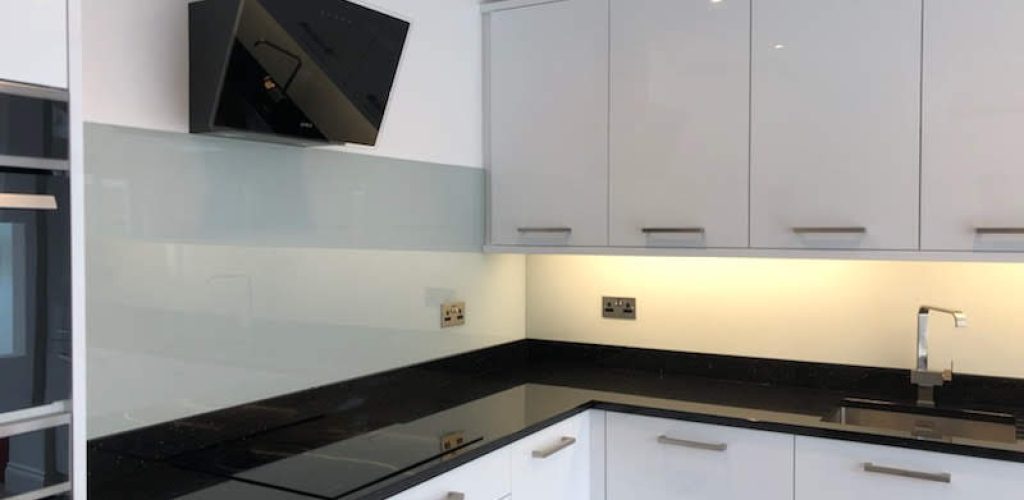
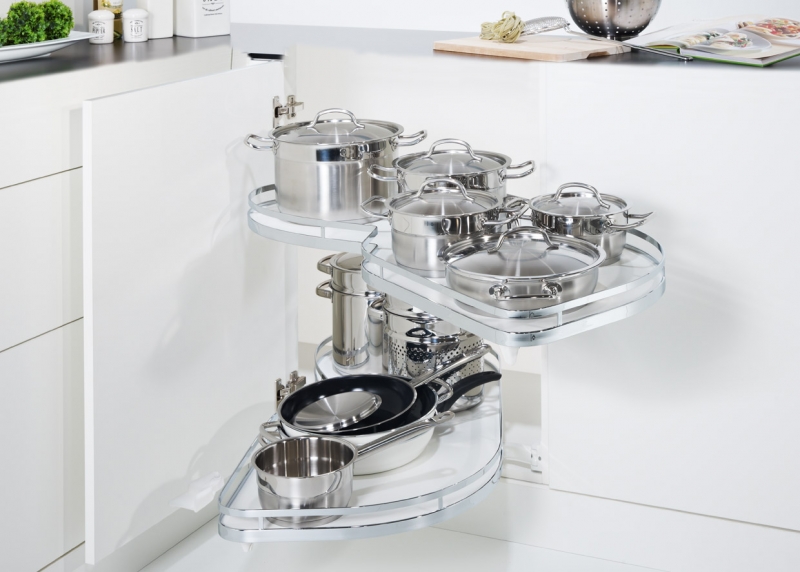
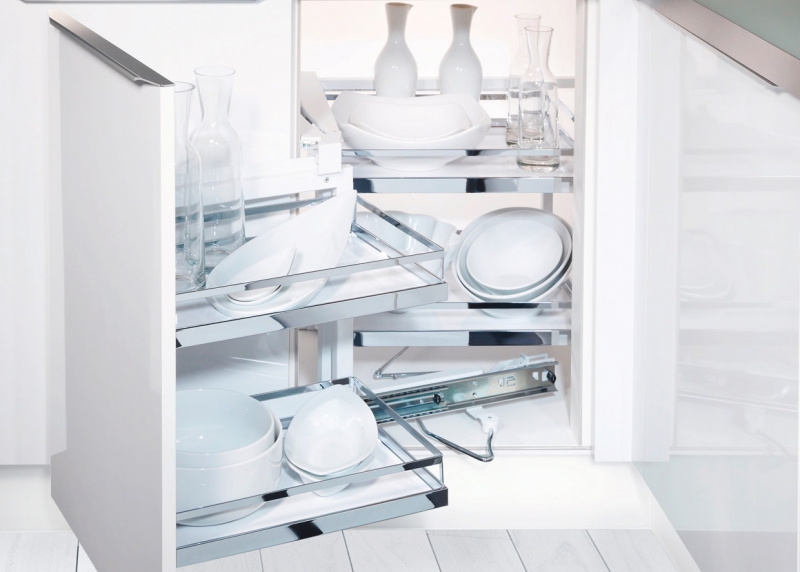
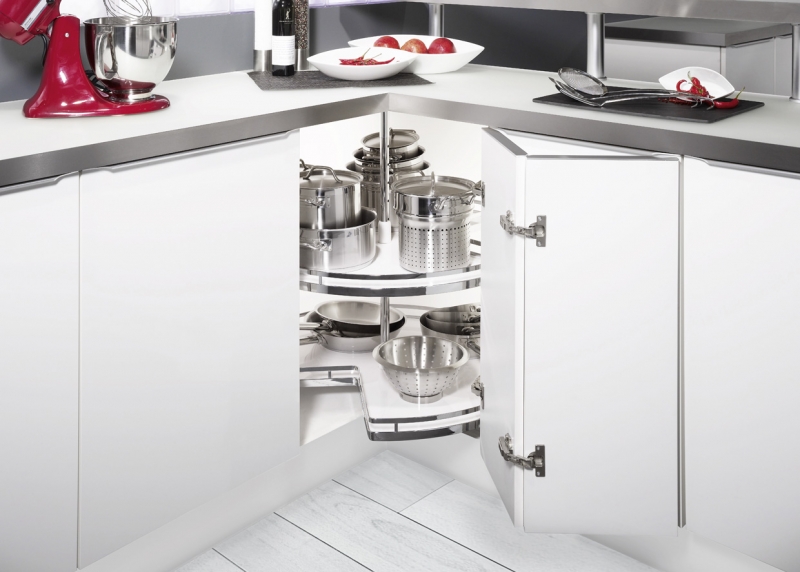
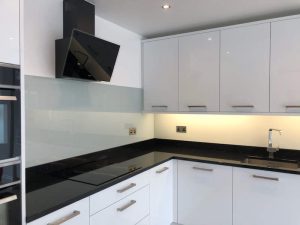
U-Shaped and L Shaped kitchens will have corner areas that you will need to access. I have focused on the base unit corner storage below and listed the 3 most popular solutions. The option you choose will depend on the space available and what you want to store there. Each option below is available with a variety of basket options and in a number of colours. You can click on the images to find out more information about the fitting. 
Kesseböhmer Le Mans Corner Fitting from Frank Flanagan Fittings

Le Mans Corner

The Le Mans is currently the most popular fitting I incorporate into every design with a blind corner.  You have full access to everything easily when at full extension.  You lose slightly on the shape to allow for the turns needed to get it out, but it seems to be worth the compromise for the accessibility.

Kesseböhmer Magic Corner Fitting from Frank Flanagan Fittings

Magic Corner

The Magic Corner was the first solution to come in to take over from the carousel when I first started in kitchen design. It was extremely popular for years because it gave you access to the corners. The drawback was that you still had to bend in to access the storage when at full extension, but it used the most amount of storage space available due to its shape.

Kesseböhmer Carousel Corner Fitting from Frank Flanagan Fittings

Carousel

The carousel works within an L Shaped corner of 900x900mm or 1000x1000mm unit, whereas the two options above use 600mm depth, but are starting from 1100mm wide upward to fit into a straight blind corner. The circle within the L shape leaves some space inside unusable and you have to bend in to access the storage, but the L shape may suit your space better. 

If you would like to chat with us about creating your dream kitchen or home renovation, please do get in touch and tell us a little bit about your project.

RECENT POSTS

SHARE THIS POST

Facebook
Twitter
LinkedIn
Pinterest
Email
Print

How to Choose the Right Kitchen Seating

How to Choose the Right Kitchen Seating

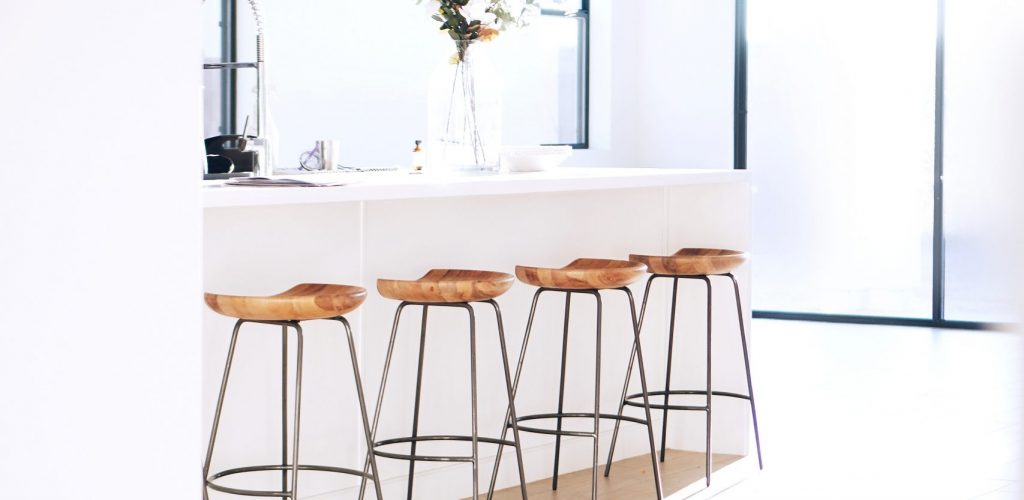
Kitchen Island with Counter Stools

When choosing your seating for your kitchen, there are a few specifications to consider, such as the weight of the stool, the material, the shape and seat size. The seat height is most important, but often overlooked. 
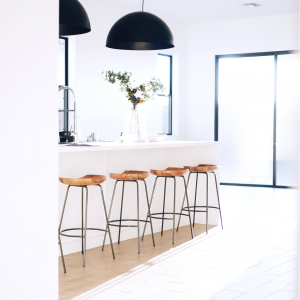
As popularity has shifted away from raised bars at an island, choosing a stool to sit at counter level is now the preferred look.  Counter stools are now more readily available in a variety of styles and finishes.

We have listed the seat heights below to help you with your choice. 

ISLAND STOOL HEIGHTS

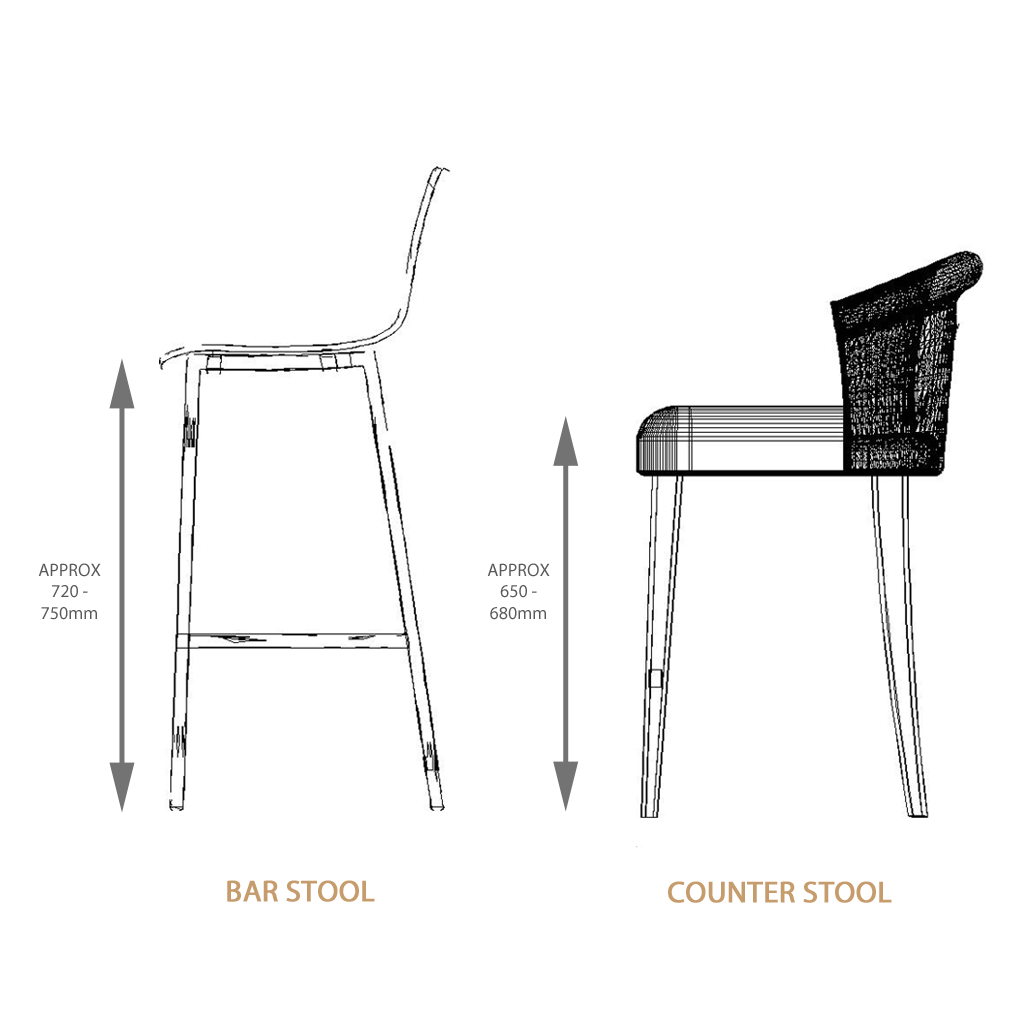
Bar or Counter Stool?

For island seating at the same height as the counter, you are looking for a seat height of around 650 mm -680mm, excluding the height of the back rest if it has one. The height from the floor to under the worktop level is 870mm, so this leaves a comfortable space to sit in under the overhang of worktop.

Bar stools have a seat height of around 720mm – 680mm excluding the height of the back rest if it has one, and is for islands that have raised bars or bar tables. Raised bars and bar tables are generally 1000mm – 1100mm from floor to under worktop. 

How many stools will fit at the island?

We tend to allow 600mm width per stool for to leave enough space for multiple people to sit together without bumping elbows. It is worth noting the optimal number of seats you would like to include in the island so the allowance can be made in the overall size of the island. 

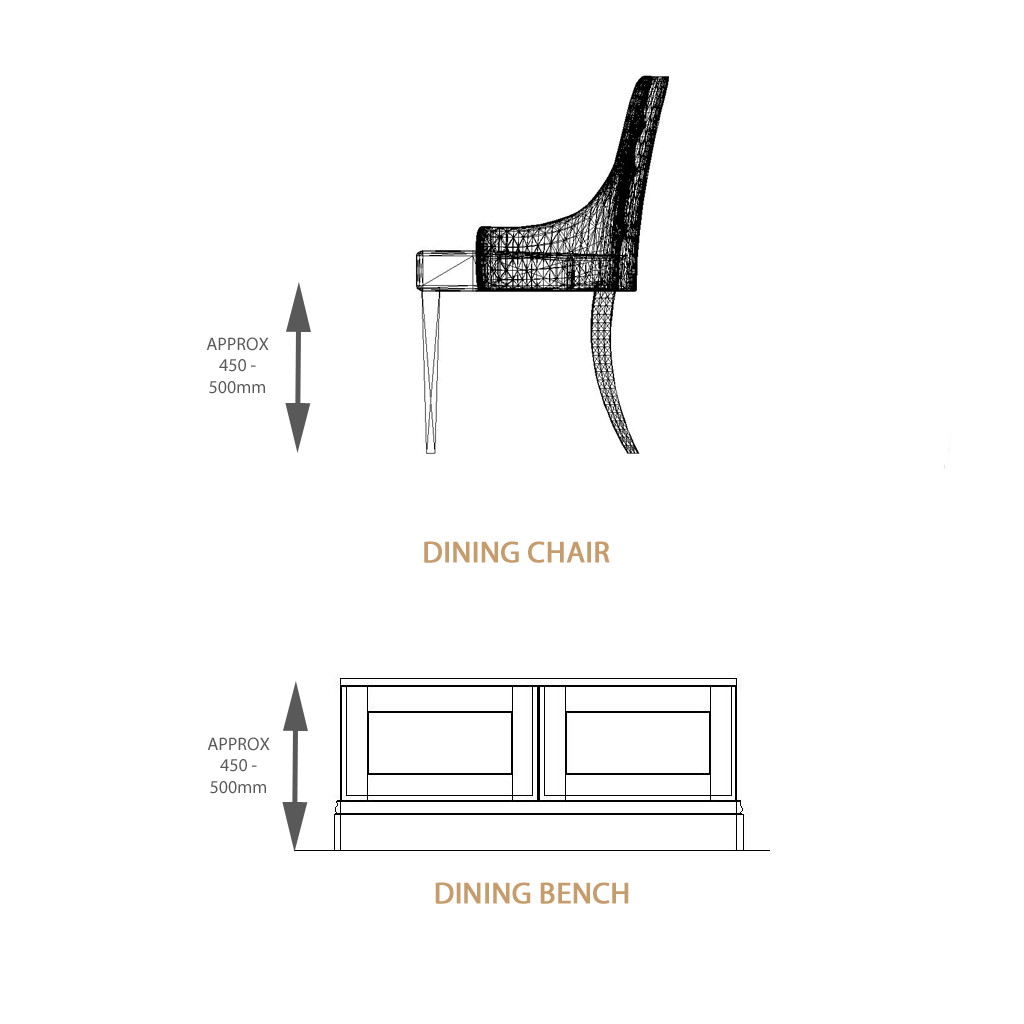
DINING SEAT HEIGHTS

Dining Seating

We love built in bench seating here in Muse Design. When space is tight, having that anchor to keep the dining table closer to the wall, or attached to one side of the island, frees up the possibilities for the layout for the rest of the space. 

Dining chairs are around 450-500mm seat height, which is generally matched for the height of a bench or window seat. Don’t forget; if you are planning to have an upholstered cushion on top of the bench seat, you will need to adjust the height of the bench to suit the overall height with the cushion. 

If you would like to chat with us about creating your dream kitchen or home renovation, please do get in touch with us at [email protected].

RECENT POSTS

SHARE THIS POST

Facebook
Twitter
LinkedIn
Pinterest
Email
Print

4 Tips on How to Organise Your Wardrobe

4 Tips on How to Organise Your Wardrobe

Clearing out your existing wardrobe is a great way to plan for your new units. Take the opportunity to declutter and work out how much storage you need and what you can do better in the new space.

alyssa-strohmann-TS--uNw-JqE-unsplash

1. Empty Your Existing Wardrobe

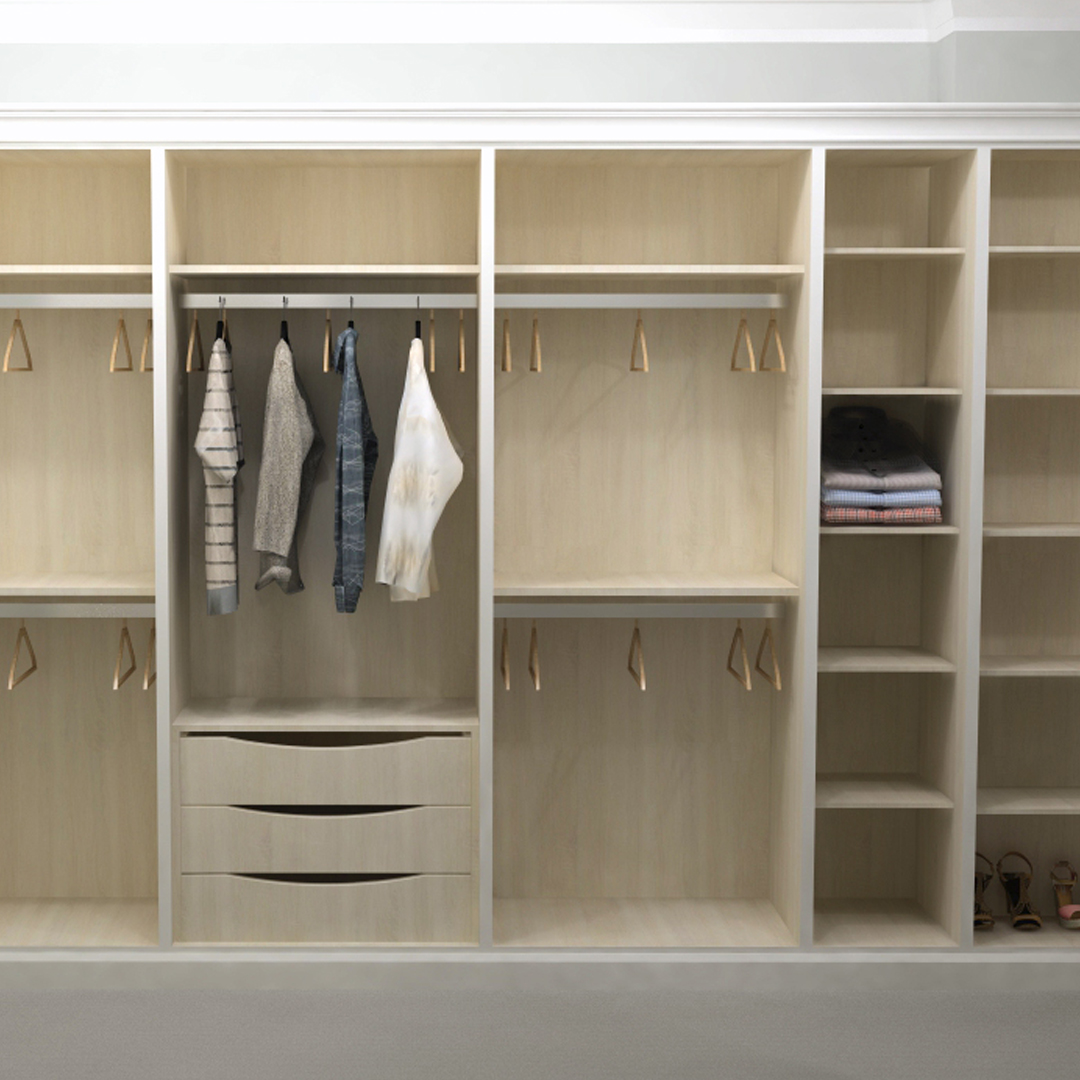
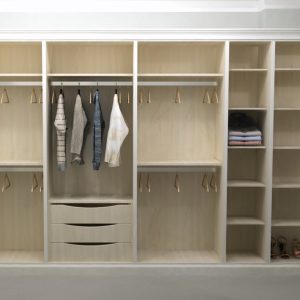
Before you start, take note of the existing space to see what is obviously lacking, so you can remedy this in your new wardrobes. If the new wardrobes are going to be taking up the same space, how can you use the storage more effectively? More hanging space, drawers, shelves?

To get started, it is better to pile everything you own onto a flat surface, such as your bed, so you can get ready to start sorting through your clothes and accessories, instead of taking out each item individually.

2. Sort Through Each Item

Now it’s time to be ruthless – make a decision about each item there and then:

KEEP

Separated into for frequent use, for special occasions, to be stored out of season and keep for repair or cleaning.

GIVEAWAY

Items in good condition that you no longer wear, or no longer fit can be donated to charity or freecycle.

RUBBISH

Anything that is beyond repair or genuine rubbish and has no way of being repurposed or upcycled.

3. Find a Place for Everything

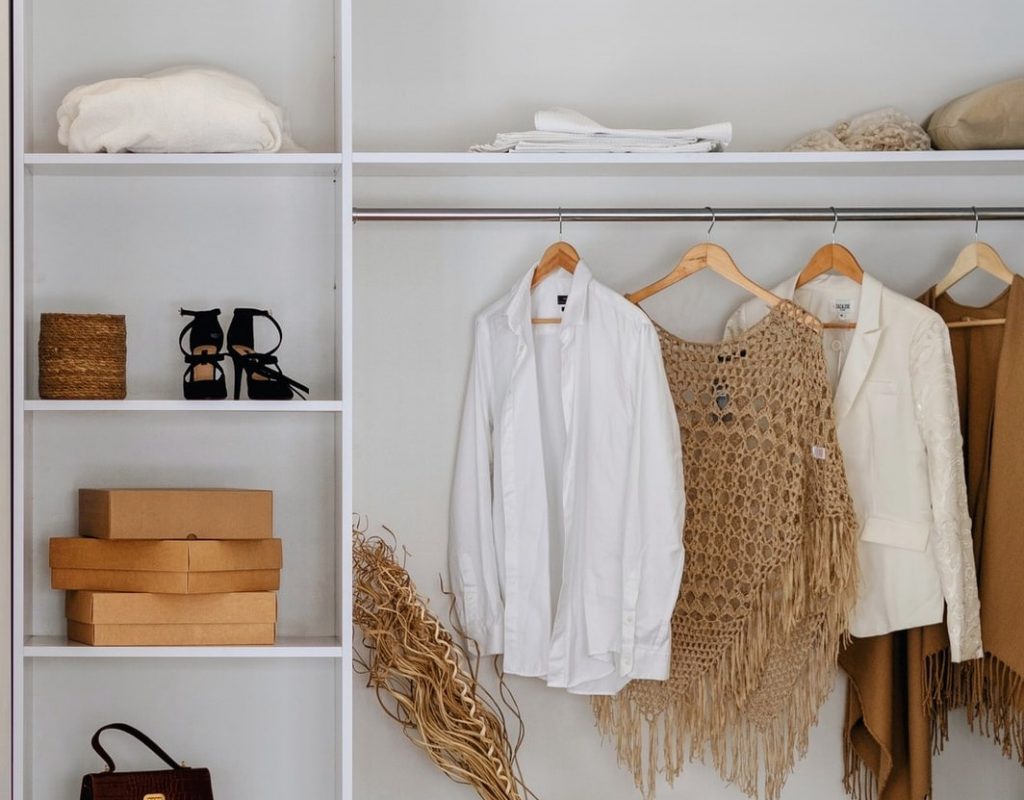
Now the Keep Pile groups can be organised to suit the way you live. Logically, the items used most frequently will be the most accessible, with the out of season items and special occasion items to be accessible, but stored away (if tight for space, consider under-bed storage, the attic or guest room wardrobe).

Now consider how you would prefer to store them:

olena-sergienko-nPhVqChP1JI-unsplash

Hanging

Shirts, dresses, skirts and trousers tend to store better on hangers than folded.

Depending on the amount of hanging space you can incorporate, you can group them into Workwear, Going Out Clothes and Casual Wear

Pull-Down rails can be installed higher than you can reach, to maximise hanging space while pulling down to your level for use.

Shelves

Jumpers, jeans and T-Shirts store well folded onto shelves

Handbags can be arranged with small dividers, while sports bags can be stored in deeper shelves

Shelves can be angled with a small lip to the front to store shoes.

Boxes can be added to group items and make it visually more appealing.

Drawers & Fittings

Underwear and accessories can be divided into compartments within drawers

Pull-Out Baskets can be added to store shoes, or to make folded items more accessible

Pull-Out Trouser Racks require less height, giving you more space for drawers or hanging

Tie or Belt Racks can be installed to the side of the unit to give storage without taking up a drawer or shelf

Hooks can be added for accessories

4. Make it Visible

There is little point in putting all the effort into organising your clothes if you cannot see them easily!

Lighting can really enhance your new space, and is vital if you are on a different work schedule to your partner.

Lighting rails, and LED lights can be added to any space so you can find your outfit easily. Rechargeable options are available if you cannot wire for the new fittings. 

If you would like to chat with us about creating your dream kitchen or home renovation, please do get in touch with us at [email protected].

RECENT POSTS

SHARE THIS POST

Facebook
Twitter
LinkedIn
Pinterest
Email
Print

6 Tips to Create a Productive Home Office

6 Tips to Create a Productive Home Office

The key to a good home office is to create a space that is both comfortable and organized, so you can be your most productive self. It is not just about creating a functional space, but it is equally important to make it a space you want to be in! 
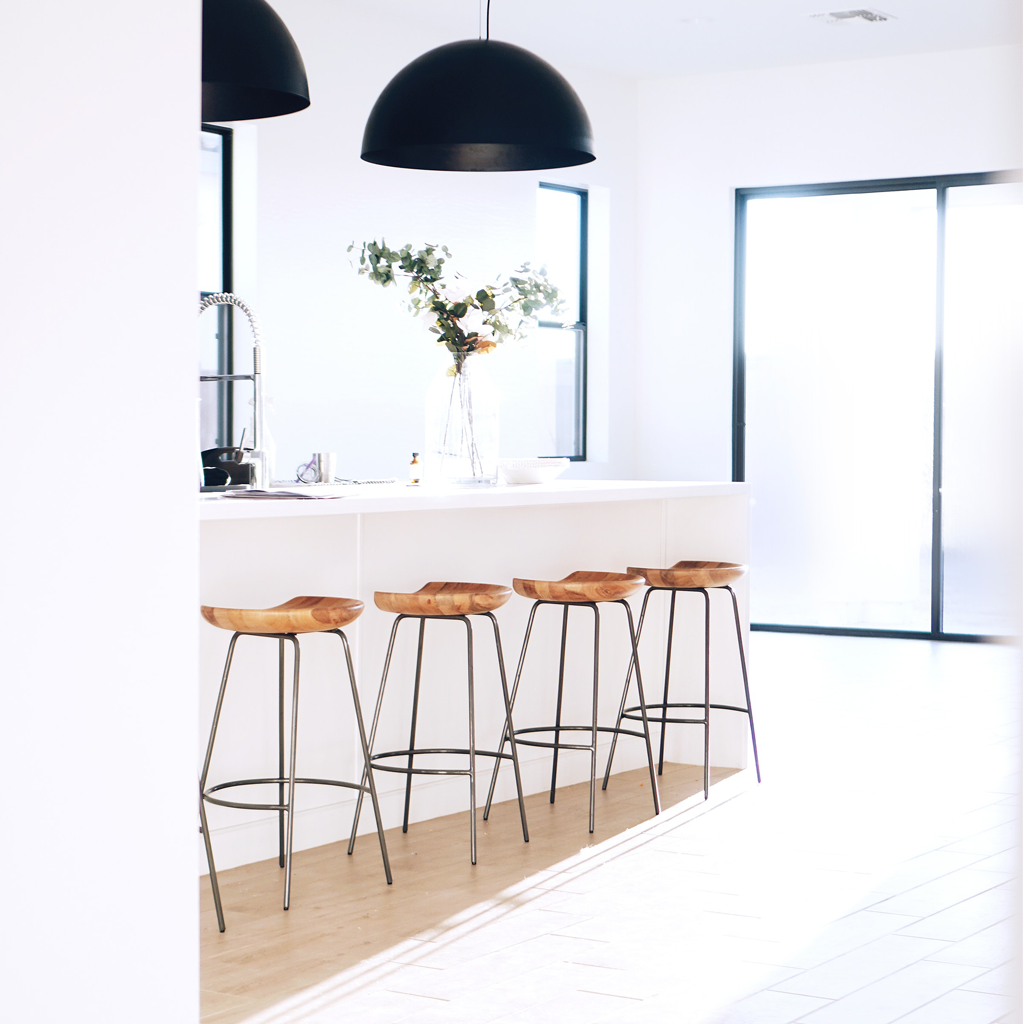
The room should be designed with the most efficient layout to keep everything you use regularly within arms’ reach, with enough workspace and storage for everything you need. Keeping a shredder under your desk will help you dispose of confidential papers more frequently and stop them from building up on the desk. 

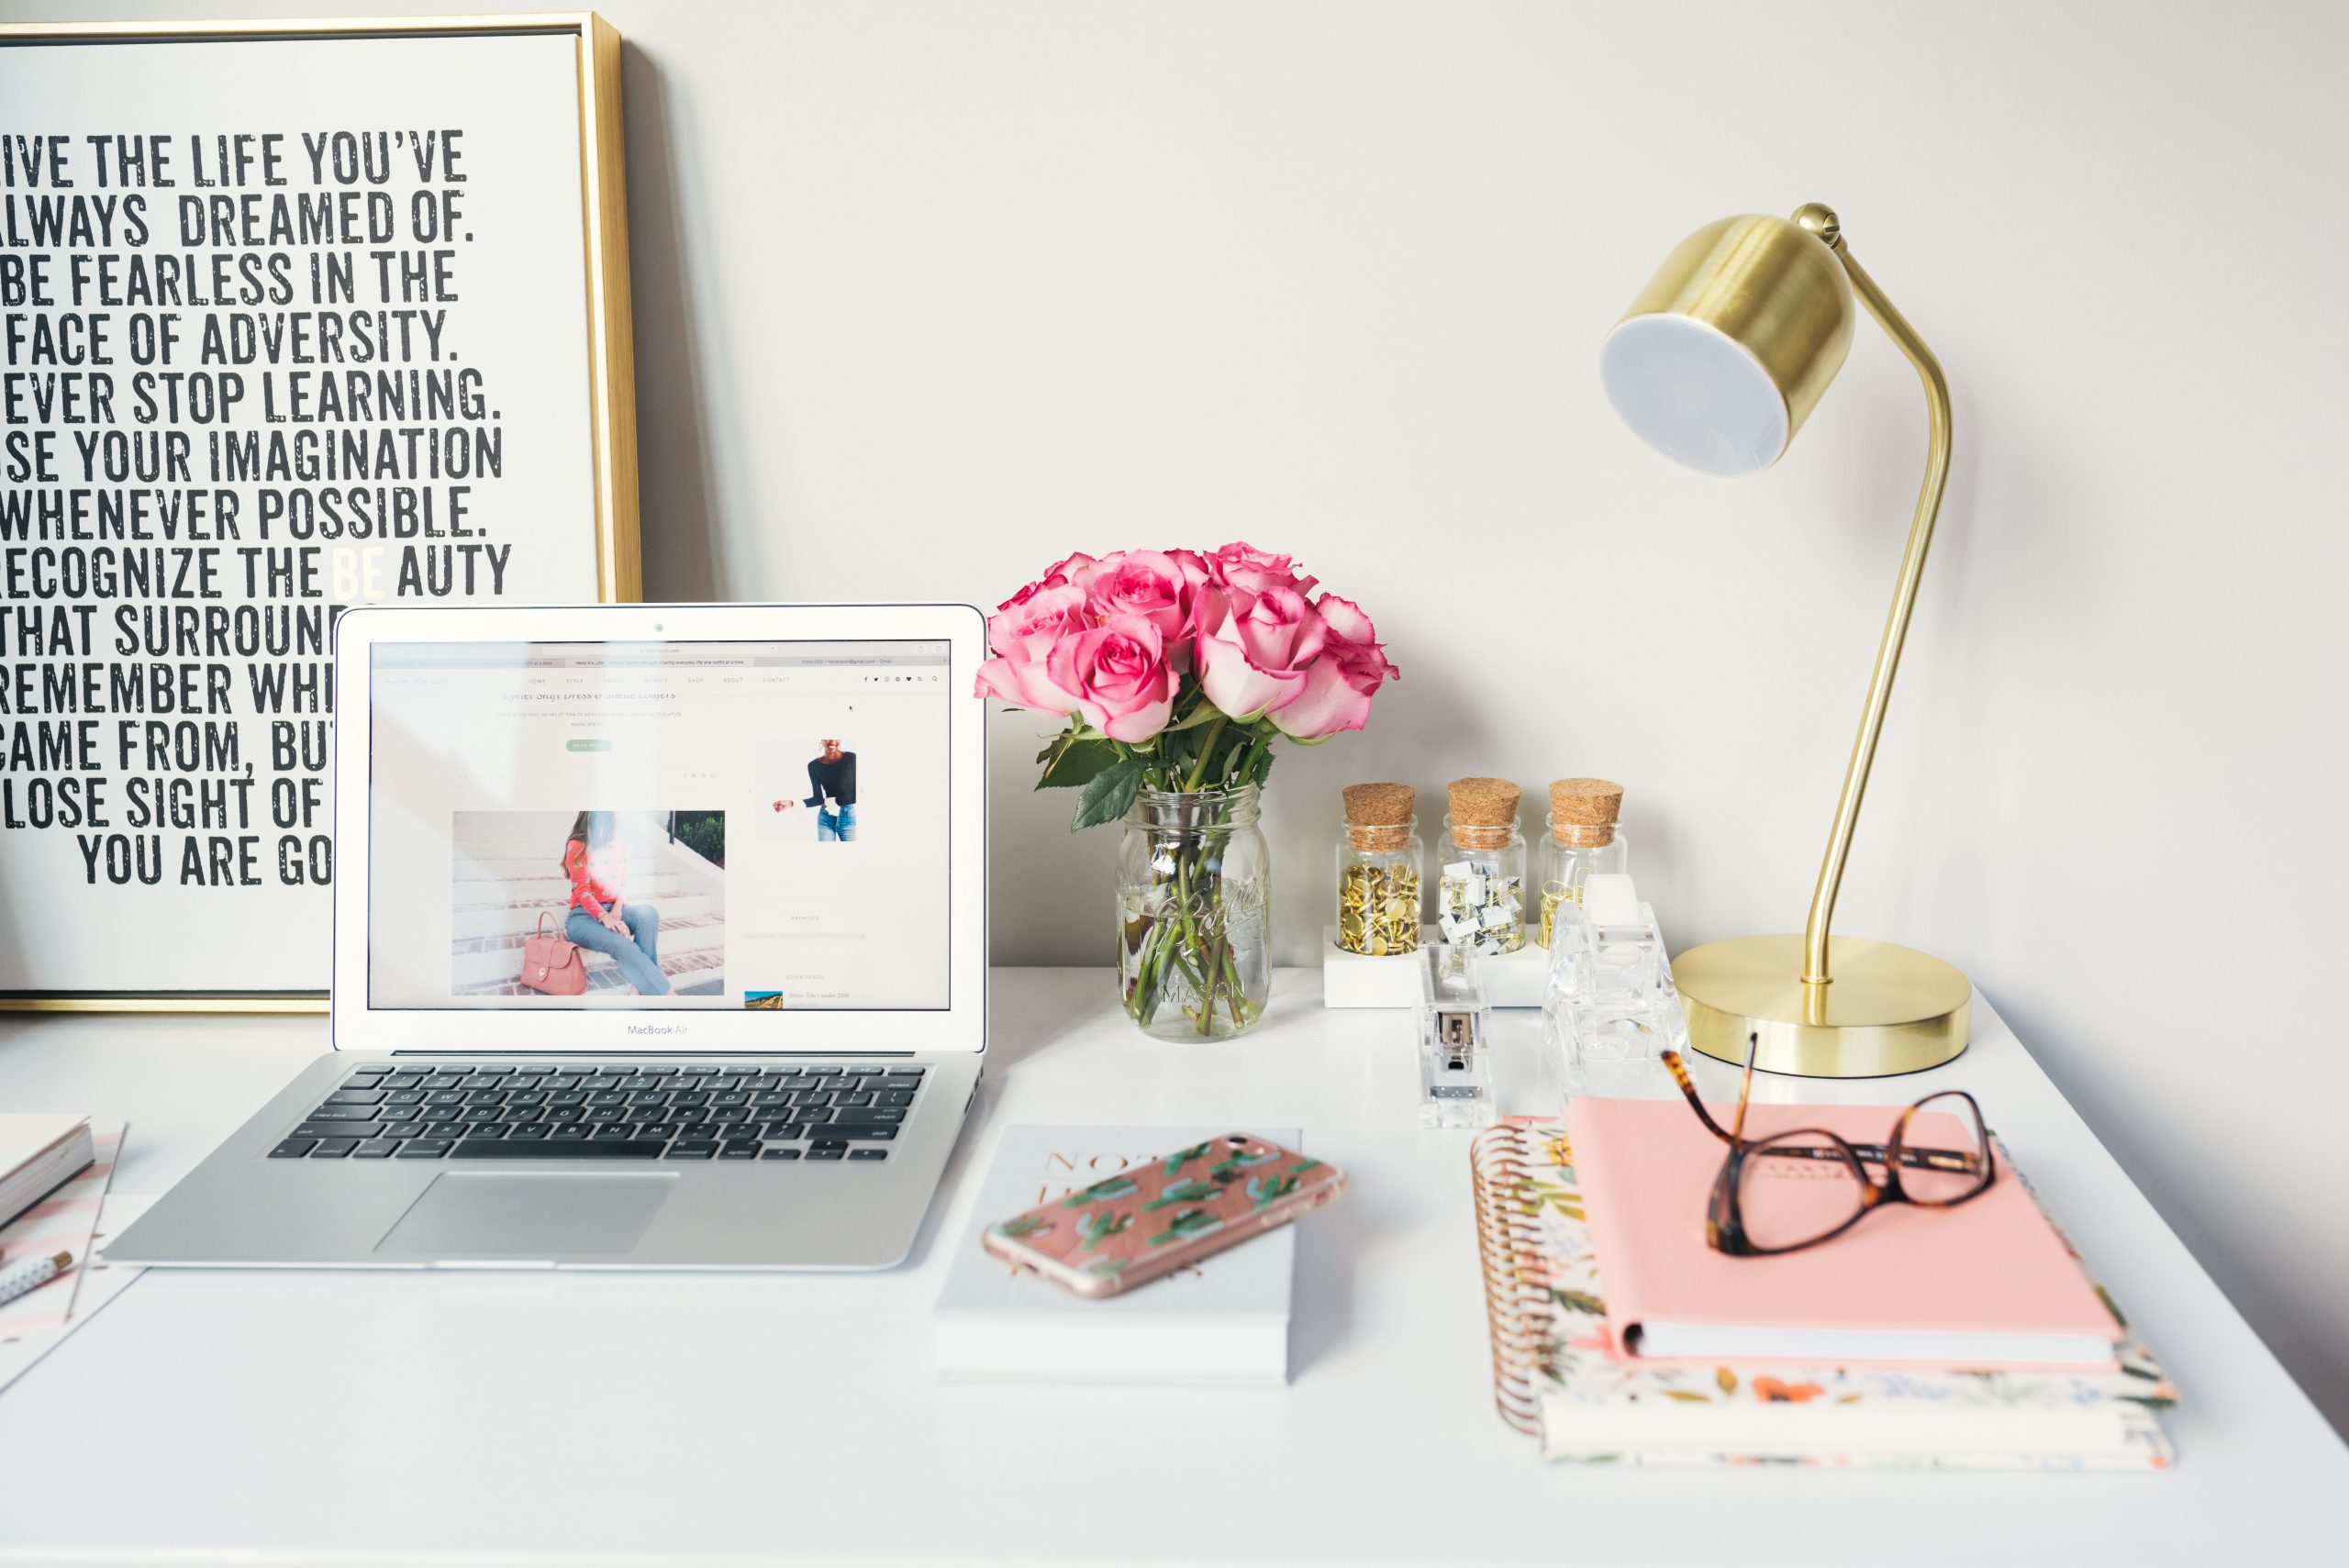
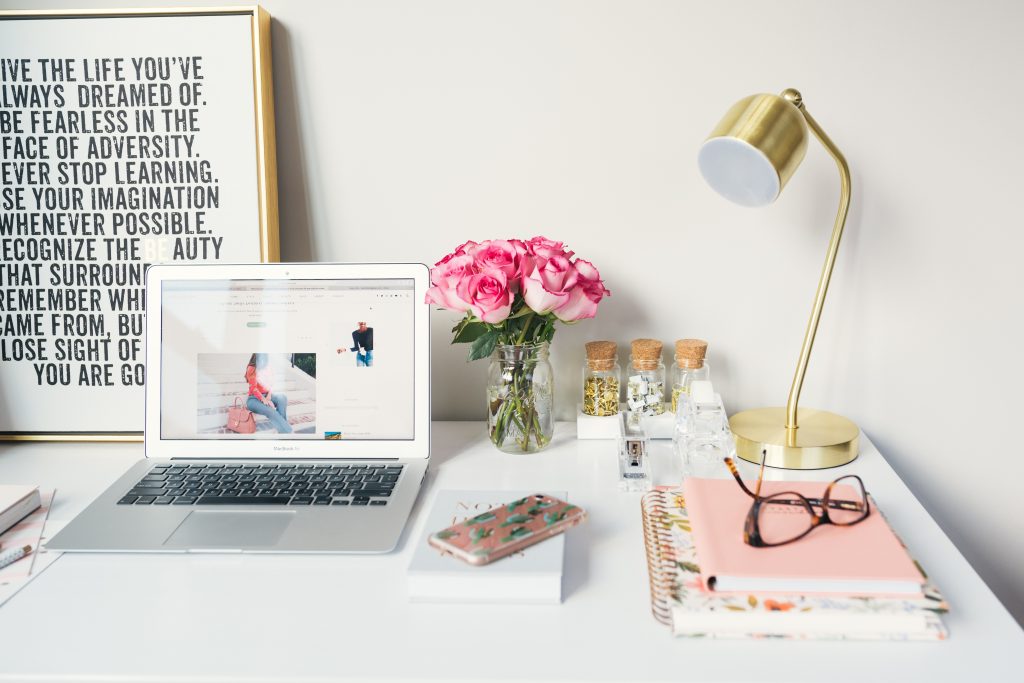
Once you have a place for everything, think about adding touches of personality to draw you in to work. 

We have put together 6 steps to creating your ideal workspace, so let’s start with the obvious… 

1. Desk

The desk is where you will most likely be spending most of your time.  Ideally it should be positioned under a window, or close to natural light for the most comfort for your eyesight and to boost productivity. If this is not possible, there are many artificial lighting options that mimic natural light. 

Keep the desk clear of any non-work-related objects and maintain a clean desk policy as this will improve your productivity.  Regular filing and shredding is also useful as wasting time searching through piles of paper to find a particular file is not only a waste of time but likely to quickly kill your motivation.  

Think about the type of desk that will best suit your line of work – Standing desk, sitting desk, or a motorized option can be adjusted to suit both.

2. Storage

A workspace clear of clutter will help you to think more clearly. Group your items into the frequency of use, so everything you need regularly is within easy reach, and anything used rarely can be stored away.   

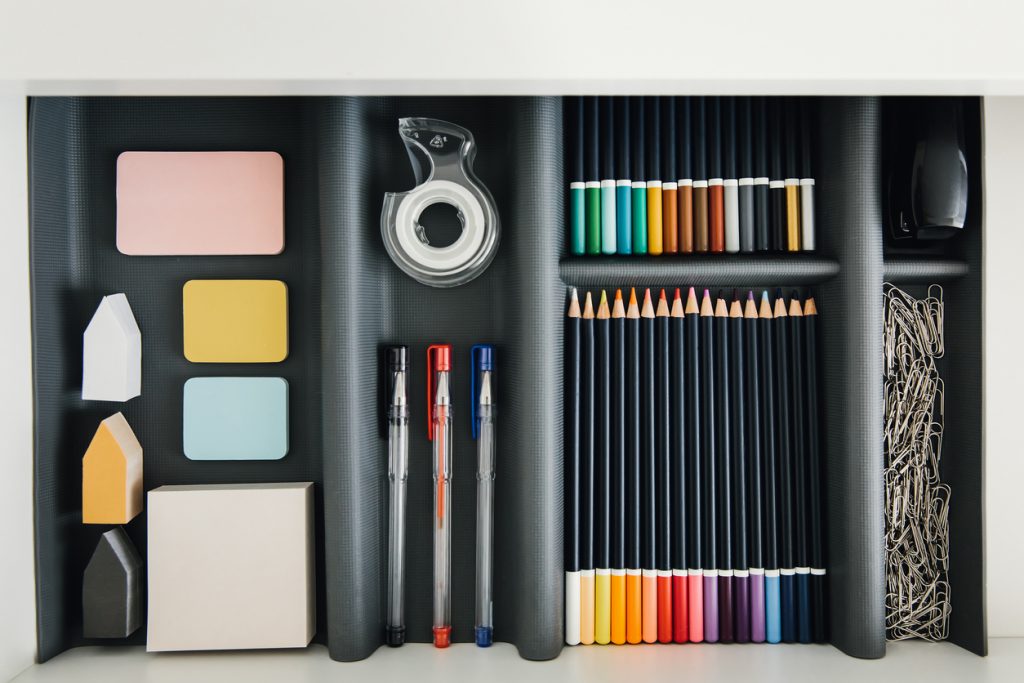
Besides the electronic equipment, files and folders, you will need storage for your stationery supplies – preferably stocked together so you can keep track of when you are running low on something. 

Keep your workspace tidy by incorporating accessories such as this pencil tray, or have your keyboard on a pull-out keyboard tray, which can also include compartments for small items such as paperclips and pens. 

Think about the additional requirement such as a security safe, or a Fire-Safe Box that can be incorporated into the new layout. 

Utilise as much space as possible with wall shelves built to the ceiling, even keeping a step stool nearby for rarely used items. 

Decorative baskets can organise other items, while adding colour and personality the room. 

3. Seating

Make sure you chose an ergonomic office chair to avoid back problems as it ensures you are maintaining the correct posture.  A swivel chair will help you to quickly access files stored behind you. 

If you have the space, consider adding a comfortable chair or small sofa where you can relax during your breaks, so you are not glued to your desk. 

4. Lighting & Electrical Equipment

Natural lighting is not only great for boosting productivity, but it also has an effect on your quality of sleep, as well as your mental and physical health. Unfortunately, it is not always possible to position your desk at a window, so natural light bulbs are a great alternative.  

 Good lighting will not only help you see your work, but it will also set the atmosphere in the room. Ideally a mix of task lighting and mood lighting will make the space both functional and comfortable.  

 You will need enough sockets to incorporate all your electronic equipment, and don’t forget to let us know if you need to allow space for a telephone, internet modem, network router, printer/scanner and the type of PC/laptop and number of monitors etc.  

Cable outlets will help to hide cords and cables and keep them tidy. 

5. Style and Colour

A calm, soothing atmosphere will help you concentrate.  

Green is the best choice for your home office. Not only is it believed to be the most relaxing colour for your eyes and awaken creative performance, but it also has a calming effect to alleviate stress.  

You don’t have to paint your new units green, or even your walls. You can bring green in with accessories, or on a feature wall, or even consider adding greenery – houseplants can get you psychologically engaged and promote happiness, which will result in better work. 

If green isn’t your style, you can look to the psychology of colour for help. Neutrals such as white and grey will minimise distractions, yellow brings warmth and energy, purple promotes wisdom and creativity, while blues are calming.  

Make sure it’s somewhere you want to be!

While an attractive space helps to improve happiness and productivity, you need to be careful when personalizing your office to avoid cluttering your space with too much décor. 

However, you spend most of your waking hours in your office, so think about the types of personal items that will motivate you and make you happy, to give you a sense of ownership of your workspace. 

Hang art or photographs on free walls and bring life and colour into the rest of the space with decorative boxes and folders. 

It is also important to make sure your office is a private space, free from distractions from family members and pets.   


Set boundaries with family during work hours, but also equally important is to remember to be strict with your office hours.  Close the door and walk away after the workday finishes, regardless of how nice the new design is! 

If you would like to chat with us about creating your dream kitchen or home renovation, please do get in touch with us at [email protected].

RECENT POSTS

SHARE THIS POST

Facebook
Twitter
LinkedIn
Pinterest
Email
Print

How To Measure Your Room

How To Measure Your Room

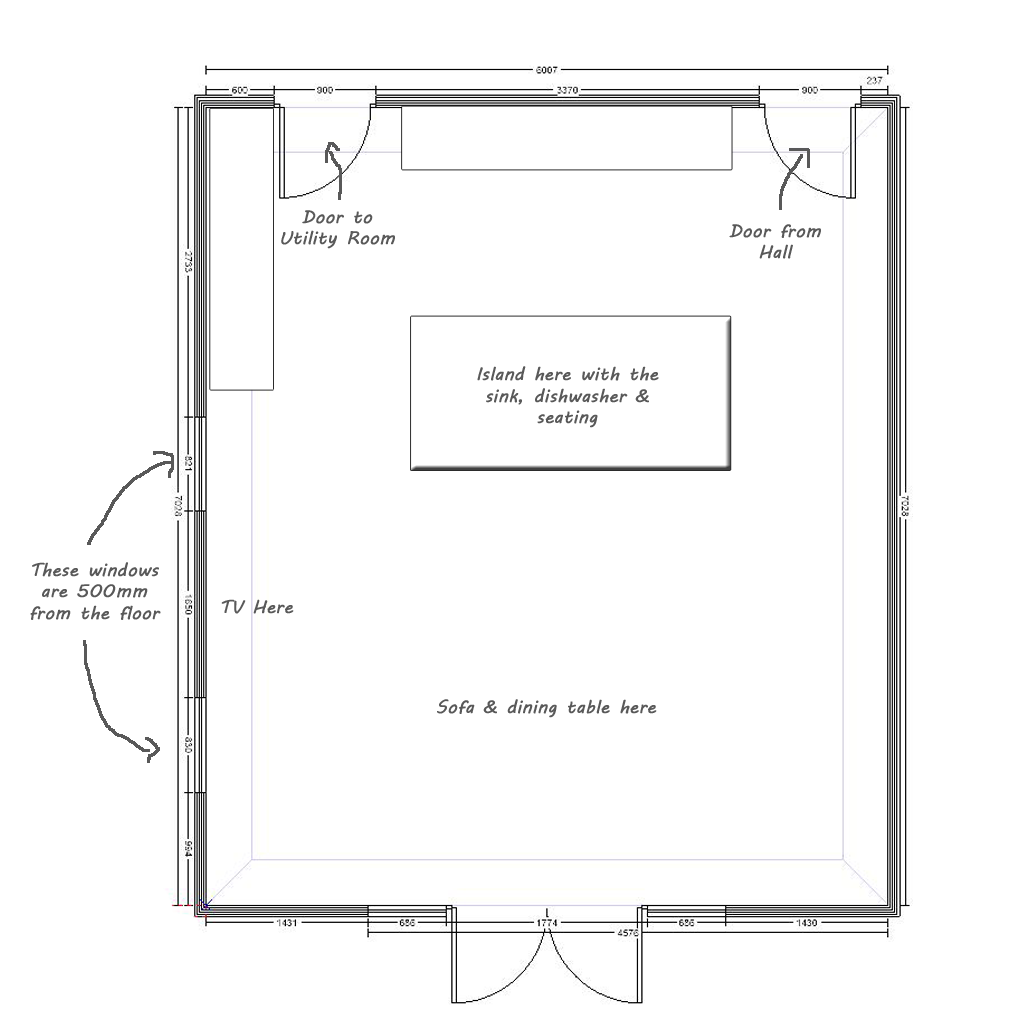
The first hurdle you may encounter at the beginning of your renovation is how to measure a room, if there are no architectural plans for their project. There are some details that are vital for a designer or supplier to be able to give you an accurate design or quotation.

Whether you are using our Online Design Service, or looking to call to a few showrooms to get a feel for what options are out there, you will generally want to bring the measurements of your space with you.

It may seem like a daunting prospect, but once you break it down into steps, it should be easy to manage.  Remember, this is just a guide to help the designer visualise the space, your tradesmen will always double check the measurements before building or fitting your new furniture, flooring etc.

SAMPLE PLAN OF KITCHEN MEASURMENTS

How To Get Started

This doesn’t have to be perfectly to scale. Draw in pencil so you can easily erase mistakes. It is more important to have the measurements right, than have straight lines in your sketch!

The longer the tape, the better, so you can measure the full width and length of the room.

Start by measuring the overall length and width of the room.

We will add in the smaller measurements afterwards. The smaller measurements will add up to the total width and length.

Measure the ceiling height and the height of coving or beams if necessary.

Note the width and height of anything you need to work around:

Windows: Width, height and height from the floor

Doors: Width and height

Switches and Sockets Locations

Light Fixtures (if staying in location)

Boilers, Vents and Radiators: Measure how far they are from one wall and how wide they are

For kitchens and bespoke furniture, the more information you can provide at the beginning, the more accurate your design will be and the quicker your project can progress, so it is worth taking the time to sketch out your layout.

You will need pencil, paper and measuring tape.  You don’t need graph paper, and you don’t have to worry about straight lines, or drawing your room to scale.  Once your sketch and measurements are readable, you are ready to start your project.

I also suggest taking pictures to show each angle of the room, and a video walk-though if looking to renovate multiple rooms. Not only will it highlight any quirks in the space, such as pillars and vents, it will also give an impression of the amount of light in the room.

Although the most crucial measurements are the walls and immovable objects in the direct location of your new units, it is better to measure the entire room, so your space can be clearly visualised and you may even discover new layout possibilities.

Why not try our step by step guide below and let us know how you get on?

Step 1
Sketch out your walls, leaving a gap for the locations of the windows and doors
Step 2
Add in your windows and the doors. Don't forget to show which way the door swings open as this can impact the flow of the space, so it is important to note
Step 3
Draw in the locations of any immovable objects, such as a chimney breast, pipe boxing or nib in the wall
Step 4
Label everything, including where each door leads to as this will help to work out the flow of the room and what doors are likely to have high traffic
Step 5
Start measuring each wall, the distance between the wall and the window, the width of the window etc. until you have measured the full room.
You can also take an overall measurement of the length x depth to easily calculate the square meterage for flooring. You can dot out the location of existing kitchen units if you want to keep the services in roughly the same locations
Slide 2 Heading
Lorem ipsum dolor sit amet consectetur adipiscing elit dolor
Click Here
Step 6
Draw an elevation of the walls that have a window or immovable object on it, so you can mark the height off the ground and your ceiling height

RECENT POSTS

SHARE THIS POST

Facebook
Twitter
LinkedIn
Pinterest
Email
Print